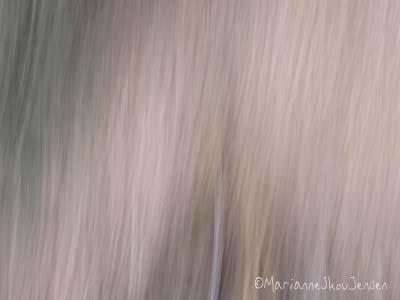
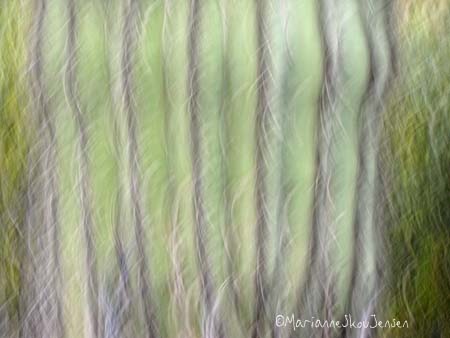
What do you do when the wind is blowing at more than 40mph? You go with it!
Here are two impressions of fence posts taken at Brown’s Ranch this past Sunday.
![]()
![]()
Tech Stuff: ISO 100, f/32 at 1/8th second. 100mm lens. Intentional camera moment.
What do you do when the wind is blowing at more than 40mph? You go with it!
Here are two impressions of fence posts taken at Brown’s Ranch this past Sunday.
![]()
![]()
Tech Stuff: ISO 100, f/32 at 1/8th second. 100mm lens. Intentional camera moment.
Cloudy days are a perfect time to create abstract photos by using intentional camera movement. This is a hit or miss process and you end up with LOTS of misses, believe me. But if you like the look, this type of photography is so much fun. The process is pretty easy and perfect for a compact camera (aka point and shoot) You might even end up giggling as I did when I first tried it 🙂
Here’s how: If it’s a bright cloudy day, wait until late in the day or until the light is really low. Then you need to manually adjust some settings on your camera. First set the ISO to the lowest number which in my case is 80 and then set the Aperture to the highest number which is f/8 on most small cameras. A high ISO and the smallest aperture (like F/8) will force the camera to choose a very slow shutter speed which you probably know will cause blurry photos. (If your camera is set to Automatic, it will try its best to make the photo sharp).
Here’s an example. First is the subject before moving the camera.


![]()
In order to make the blurring more creative looking, press the shutter WHILE moving the camera. As I mentioned, you get a lot more misses than hits but here are some tips to increasing your success rate.
1. Pre-visualize how you want the blur to look. For instance, for vertical blurs, move your camera up and down. For curves, move it in half circle movements. Shaking your camera in place creates a splotchy kind of effect which is nice for flowers.
2. Practice moving the camera slowly up and down (or which ever way you want) before you take your photo. When you’re ready, start moving the camera and without stopping, press the shutter at a random point of your movement. Viewing the resulting image on the LCD screen helps you decide at which point in the movement to press the shutter. Turning on “continuous” shooting will allow you to keep pressing the shutter while you continue to move the camera in all directions.
3. Use the Zoom of your camera to isolate what you want to capture. There’s a bonus to zooming. If your shutter speed isn’t slow enough, zooming in will reduce the amount of light reaching the sensor. Low light equals slow shutter speed equals blurry photos.
4. Take LOTS of photos! This is the key to getting something you like.
Here are some others I took this week.


Finally….Night photography is especially fun using this method. You can also do it even if you can barely hold a camera. In fact, I’m so inspired by Alan Babbitt; a photographer with Parkinson’s disease. He discovered this fun way of shooting because he couldn’t hold his camera still and found he loved it. CLICK HERE so see his amazing images.
Happy Shooting!