![]()
The very FIRST STEP in creating a greeting card is to choose a card stock.
I personally use Red River pre-scored card stock in two sizes. 7 X 10 and 6.25 X 9.
Folded they are 5 X 7 and 6.25 X 4.5. I typically use matte stock but also gloss on occasion.
Recommendations from friends help in choosing your card stock but ordering a SAMPLE pack
from sources will save you money and LOTS of time. For instance, there are differences in
thicknesses, finishes and there are varying shades of white. It’s important to see how your
printer handles thick stock and how ink looks on each color sample.
When the sample pack arrives, take the time to print an image on each sample.
DON’T SKIP THIS STEP! Here’s how to set it up in your image editor:
1. Create a new document with the EXACT dimensions of your card stock.
For instance, if your card stock is 7 x 10, then your new document should be 7 X 10.
(Folded, this size will be 5X7)
The Resolution and color space should be what you normally use when you print.
![]()
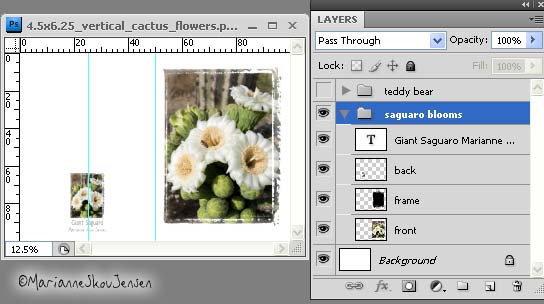
2. Prepare an image and crop it to 5X7 at the resolution you set for your document.
(Note: if your image is larger than the document, you can of course just resize it)
3. Drag the image onto the new document. Since this is just a test and since most samples
have text on them, I don’t worry about image position but you could be as precise as you like.
4. Now that you have a test file ready, you can print it on each sample.
It’s important that your printer is set with the correct preferences for each sample.
The first thing you’ll set in the printer driver is the size of your paper.
In the case of card stock, this usually means you’ll need to define a custom size.
You also want the printer to know what kind of paper you’re using.
In the case of Red River, they have profiles for most or all of their papers.
Once you’ve set everything, SAVE these settings with the name/size of the card.
This will save you from having to enter all this information again.
NOTE TO NEWBIES:
If you’re completely new to printing, don’t stress about all these settings.
There’s only one you must know and that’s how to set a custom size (check your printer manual)
Other than that, you just need to set the paper TYPE (matte or glossy) and the QUALITY.
Your printing results might just rival the so called “experts” 🙂
Finally….I haven’t seen it but Red River has a Greeting Card Designer available.
It looks to be worthwhile if you’re completely new to creating cards.
